These instructions are for installing the AccuCut program on a computer or laptop physically connected to the Cutting Machine with a serial cable (or USB/serial adapter).
To begin, download the interface application using the link below. It runs on most Windows machines.
To begin, download the interface application using the link below. It runs on most Windows machines.
Download attached .zip file.
Unzip or extract the file and install it to the "c:\acuthin\accucut:" path. It uses another folder, "c:\cutmachine", which is where logs and transaction files go, and the program can attempt to create it, but can sometimes run into permissions issues. Ideally, you should create it manually. Before running the AccuCut.exe, the "Asmblib.dll" file needs to be put into the "c:\Windows\System32" folder so that the application can talk to the "dll" globally.
You can run the "InstallAMB.bat" (in the same folder as the exe) as administrator and choose the option "1" to automate the process. Again, it can be hit or miss based on permissions. Once complete and the file is in the "system32" folder, you can run the "accucut.exe" program.
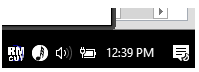
The application will start off minimized in the task tray by the system clock. Clicking on it brings it to focus.
When open, it shows the available comm ports on the machine to select from and the machine type. Look for the “Test” button as displayed below:
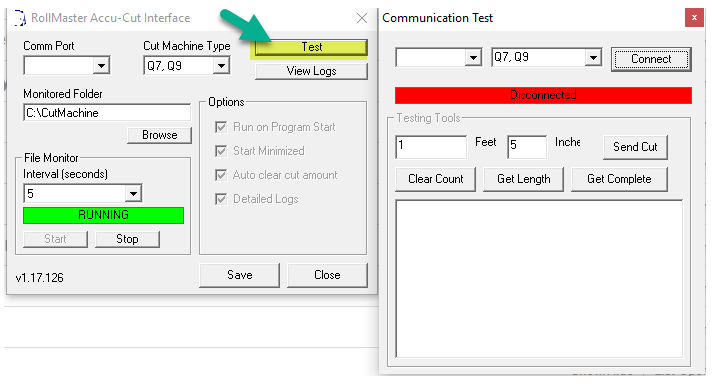
The flow is fairly straightforward. Choose a comm port, select the machine type, then hit "Connect." Once connected, you can use the testing tools panel to try out all the functions the machine typically performs in a cut cycle.
You can run the "InstallAMB.bat" (in the same folder as the exe) as administrator and choose the option "1" to automate the process. Again, it can be hit or miss based on permissions. Once complete and the file is in the "system32" folder, you can run the "accucut.exe" program.
The application will start off minimized in the task tray by the system clock. Clicking on it brings it to focus.
When open, it shows the available comm ports on the machine to select from and the machine type. Look for the “Test” button as displayed below:
The flow is fairly straightforward. Choose a comm port, select the machine type, then hit "Connect." Once connected, you can use the testing tools panel to try out all the functions the machine typically performs in a cut cycle.